
You Don't NEED to be an Expert to Make Beautiful Images - Color Grading Tutorial
What’s up Qaznation! In this video I am going to take you through a 4-step process that is going to give you an unfair advantage over your competition, and prove that you don’t need to be an expert to make pretty images.
Now this video comes from frustrations I’ve had with our industry, especially the way color grading is taught. In my decade’s worth of work, I’ve realized it doesn’t need to be so technical. We should be inspired after watching videos.
Okay, enough chit chat. First, something we need to do better is watch content with a purpose. Most of the time when we are watching TV, it’s passive entertainment. But instead of doing that, dissect the look with a notepad. You’ll see a lot of orange and teal done with lighting, instead of color grading. If you’re a content creator, you can start using that in your own stuff so it’s less you have to do in the color grade.
Secondly, we need to think like a DoP (director of photography). As a colorist, we are cinematographers in post. We try to see what we can do in post that couldn’t get done on set.
Thirdly, I have a challenge for you. It’s called the 21-day challenge.

Post these on your social media with the #theqazmanchallenge.
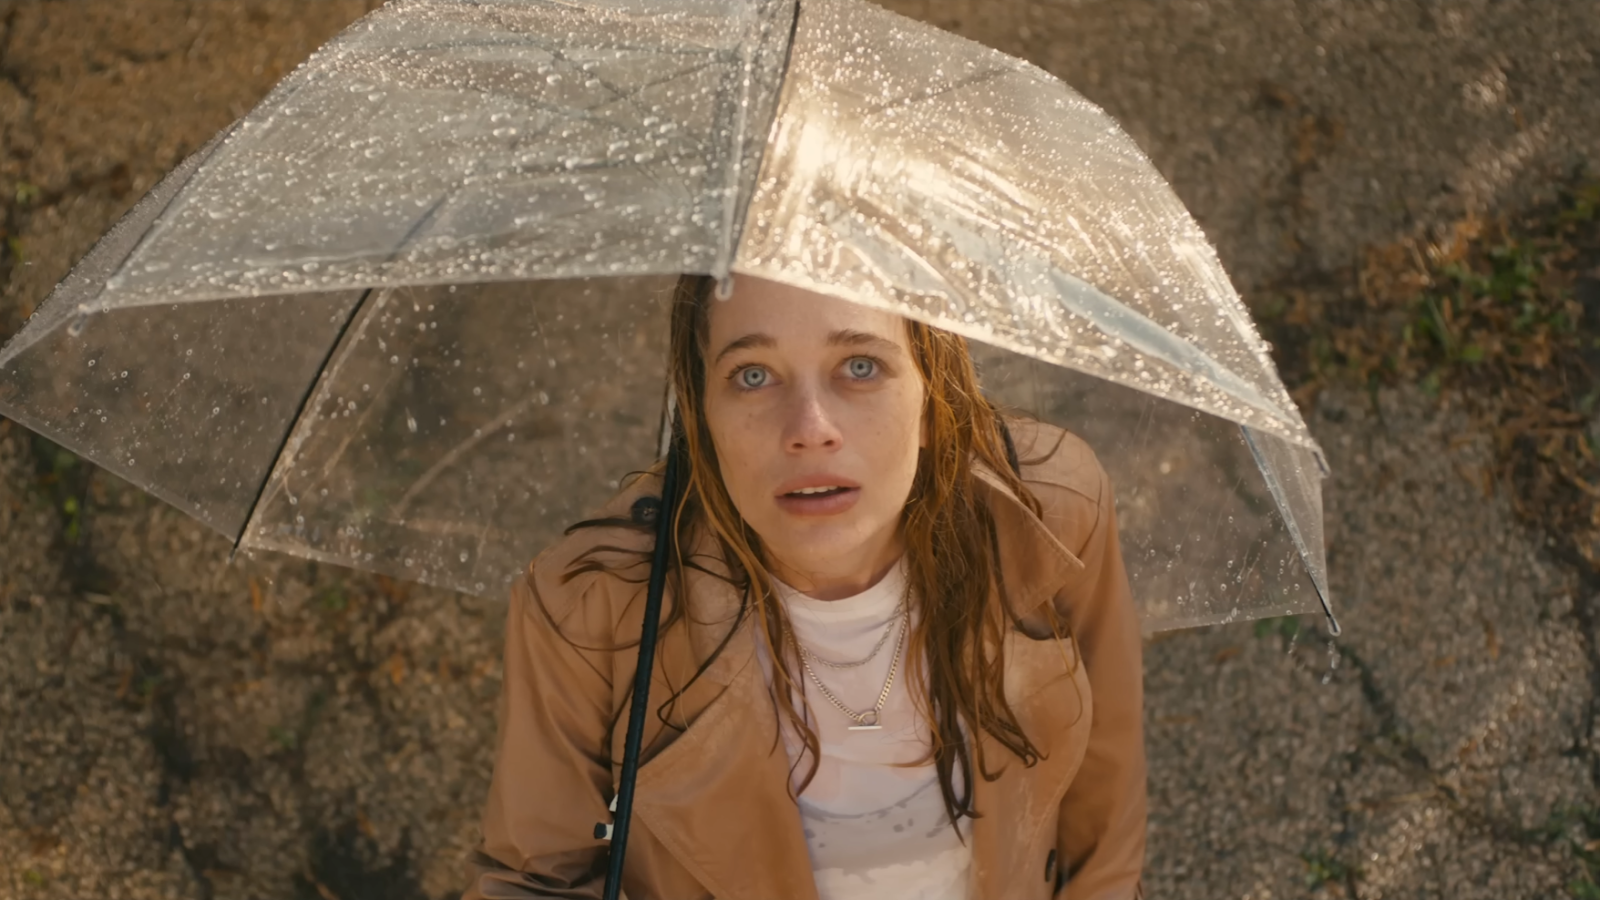
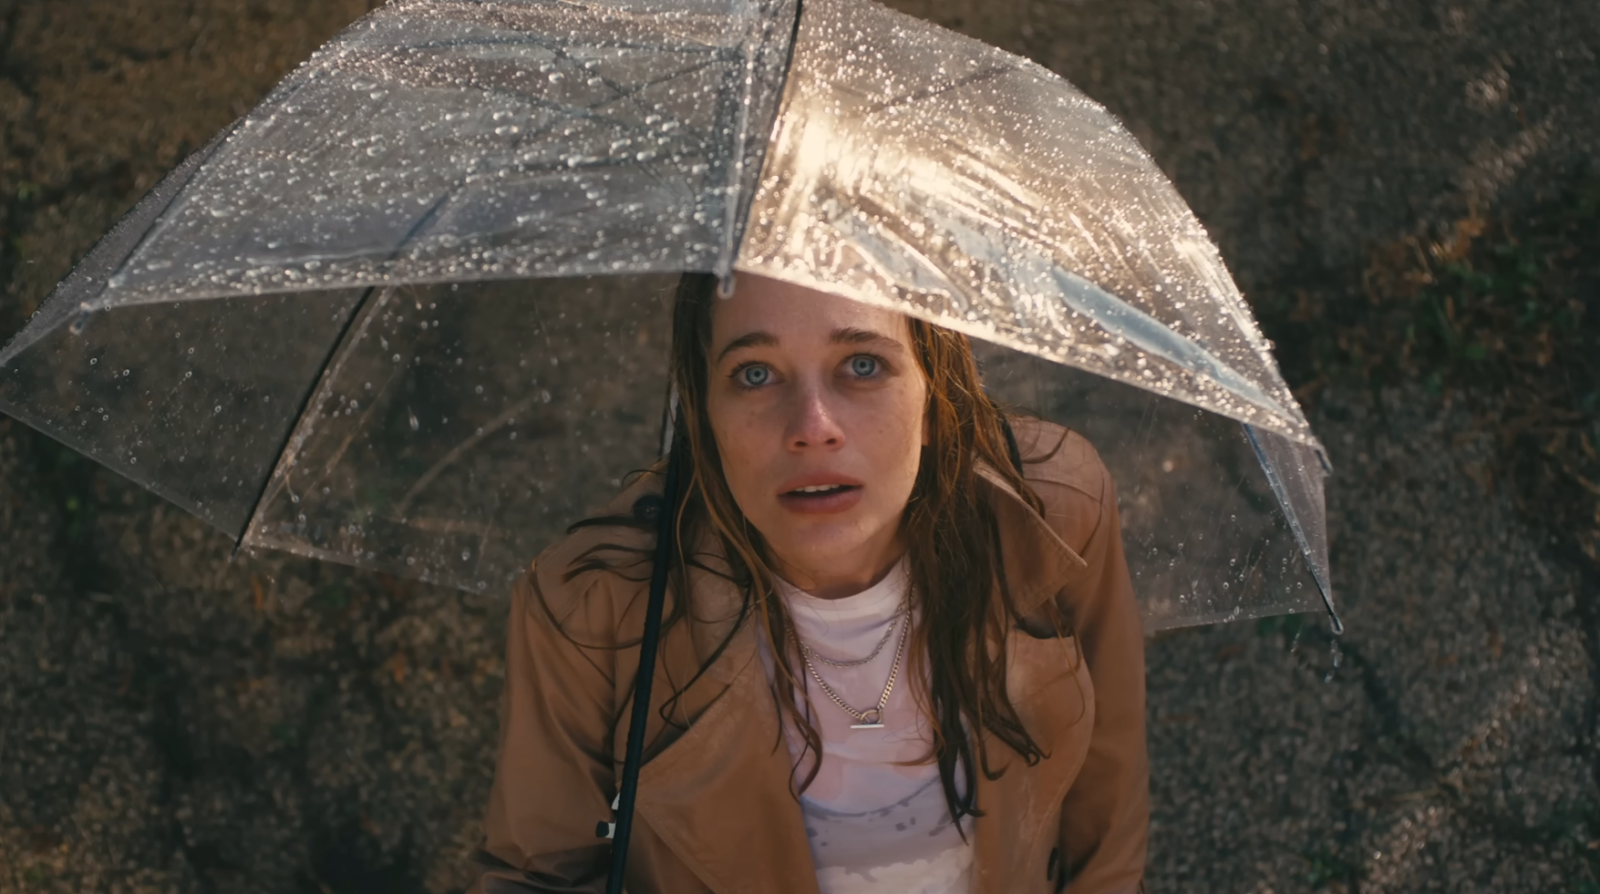
Fourth, just do the work. So let’s get into our tutorial for the day. Here is the shot we are working with, and it was shot on Arri Amira.

Now before we get grading, let’s make sure that our project settings are set correctly.

The backbone of our look DNA will be built on the Fujifilm Eterna-CP Type 3513D.
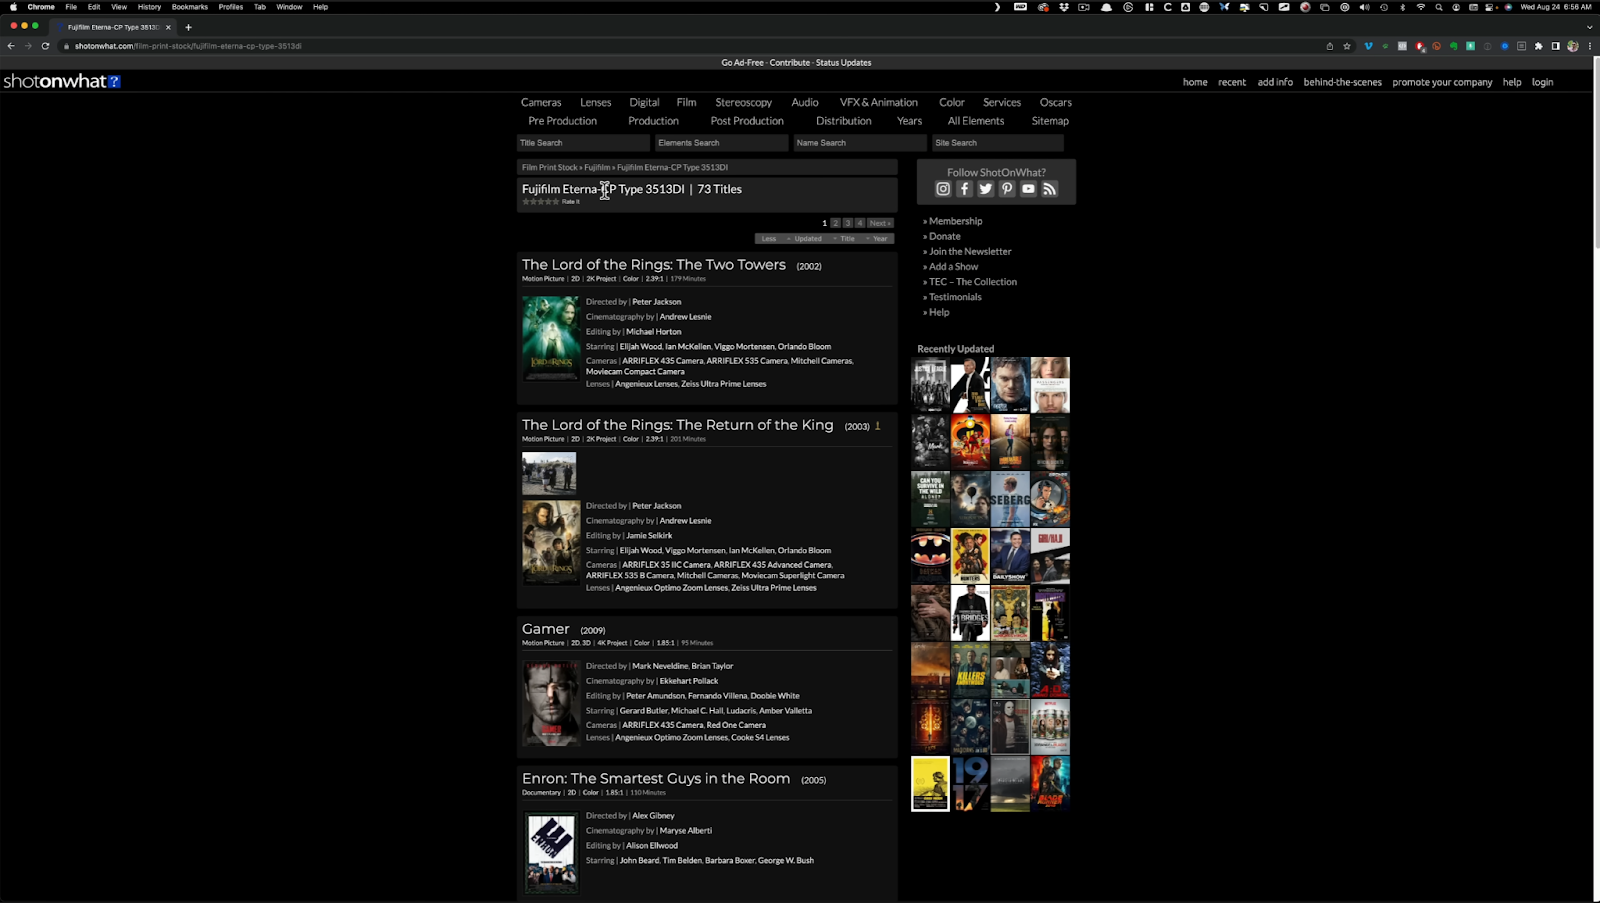
It was used in a ton of epic movies. It is a popular FPE.
Now let's create our node tree. It will be a simple 7 node tree, but the first and last will be our color space transform.
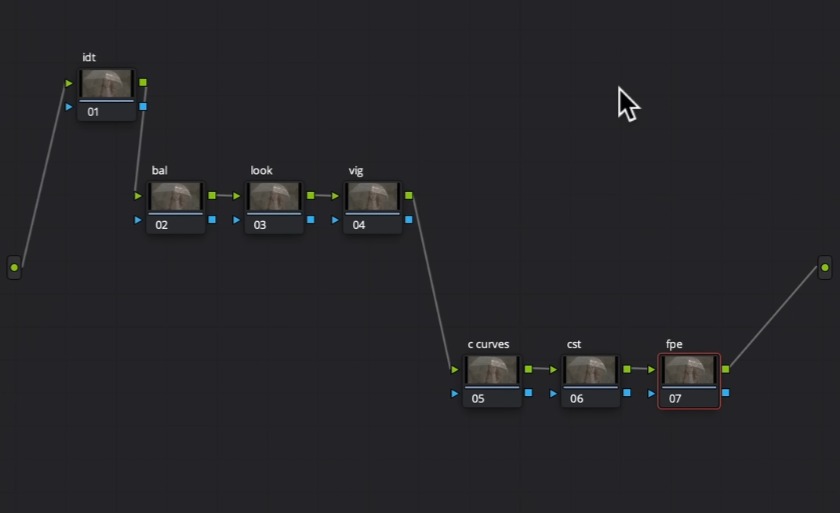
Let’s start in our first node with our IDT (input device transform). We need to transform it into rec.709. So we are going to drop a CST on this node, and actually our last node as well. Our first node will look like this (pictured below)

Then for our CST on our 6th node, we are going to make that these specs (pictured below)

The reason I’m using Cineon Film Log as my output gamma is that I need that to use the Fuji FPE properly. It needs to be in that color space.
Now on our last node, I am going to use the Fuji LUT, the D55 (warmer) version.

Even though this looks good, you can see here that grading is not just dropping on a LUT and calling it quits. Right? That’s something I want to come across as we build this look.
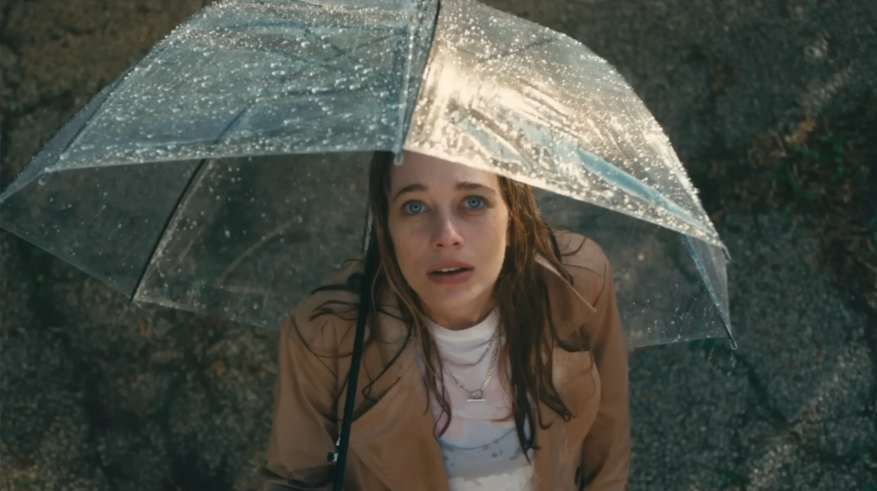
The next step is to bring up a still to use as a reference.

We are using this as a moodboard, not a 1:1 match. We just want to mimic that with our shot.
To start off, I am going to be in my custom curve and create a simple two point curve.


We brought back so much detail and created life and a mood already.
Now what I want to do is balance my image. What I can see in the scopes is way too much red.
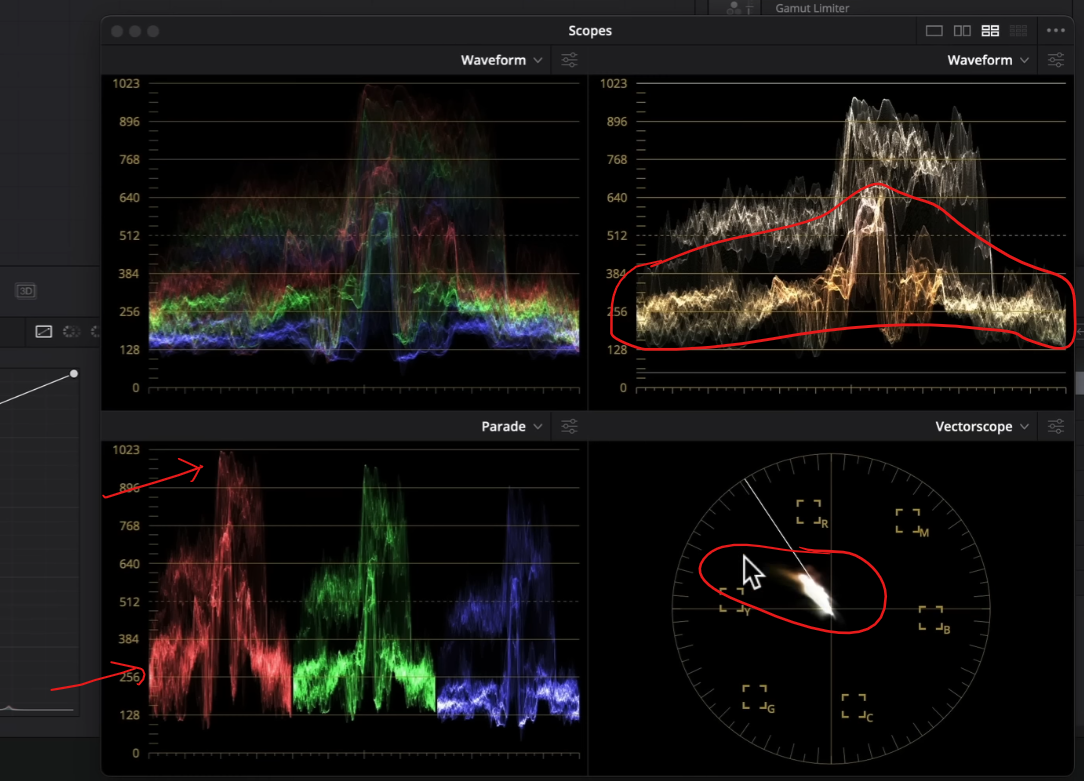
So I am going to use my printer lights to balance (offset wheel but with keyboard shortcuts). I am going to start by subtracting one red. It already made a huge difference. Then I’m going to subtract 2 yellow and that basically puts us in the ballpark. Then I am going to do a +1 cyan.

This already looks so much better.
Now what we are going to do is roughly dial in the look. So in our look node, I can see that there is still too much red, so I am going to add +2 cyan.

Now before we move further with our look, I want to go back to our custom curves and adjust it more.


Now remember when I said we are going to reshape light and be a cinematographer? Well we are going to do that in our vignette node with a window and then I will feather it out a lot, then invert it.


I will now use my gamma and pull it down.


This creates almost this really cool spotlight effect on her. And that’s why I was talking about shaping light.
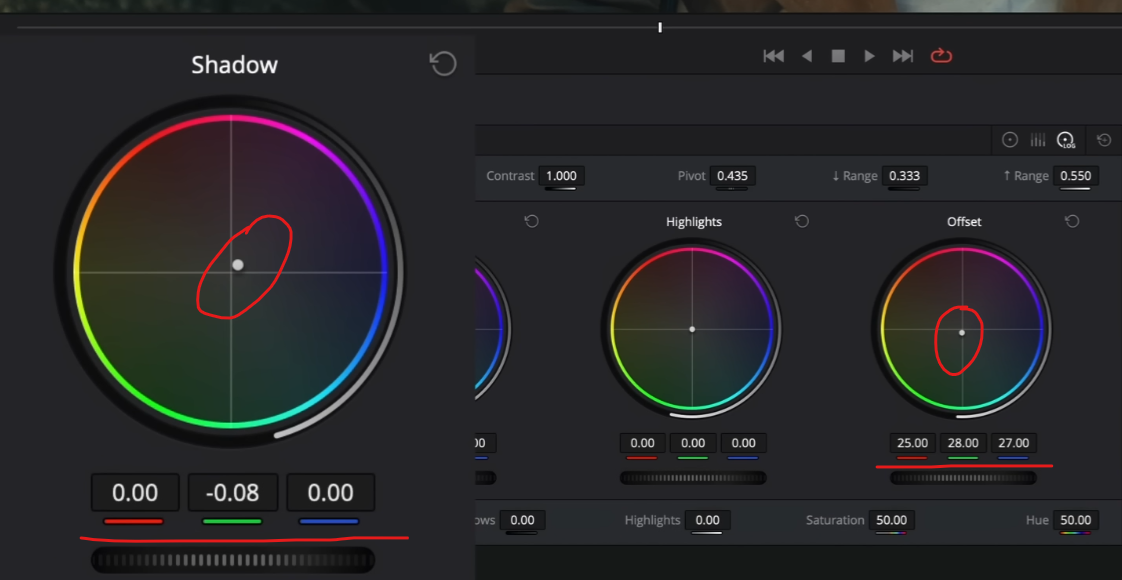
Now we are going to go back into my look node and add one green. Then I am going to use my LOG wheels and add magenta in the shadow wheel to clean up the blacks a bit.
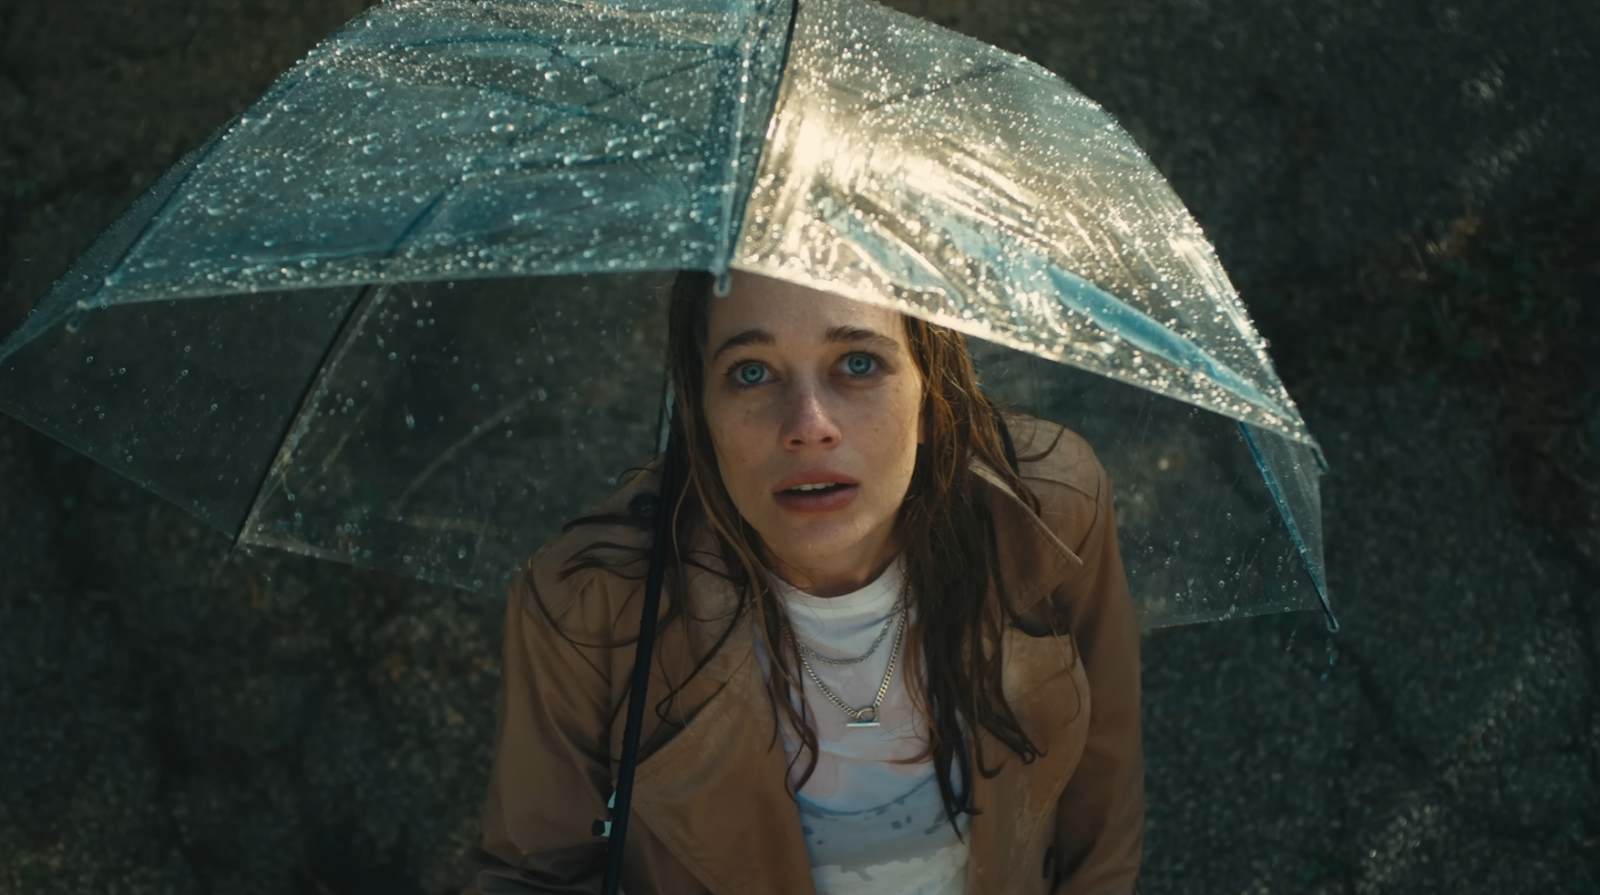
And like that we are done. So simple and easy. And based off of a very popular FPE. All we needed were five working nodes, and two transform nodes. With that we were able to go for style and drama.
Okay, let’s check out this look in full screen.

Honestly this was a lot of fun for me and I hope it was the same for you. And with that, work hard, get obsessed, and get possessed.
MORE LIKE THIS


