
Pro Colorist Grades Sony A7R V Footage - Is it any good?
What’s going on Qaznation! Today we are going to be pushing Sony A7R V footage to its limits.
Now this is what the look is going to consist of (picture below)

First, let’s look at the key features of this camera. It is more of a photo camera, but these cameras are really starting to become more of a beast on the video side.

First, let’s look at the key features of this camera. It is more of a photo camera, but these cameras are really starting to become more of a beast on the video side.

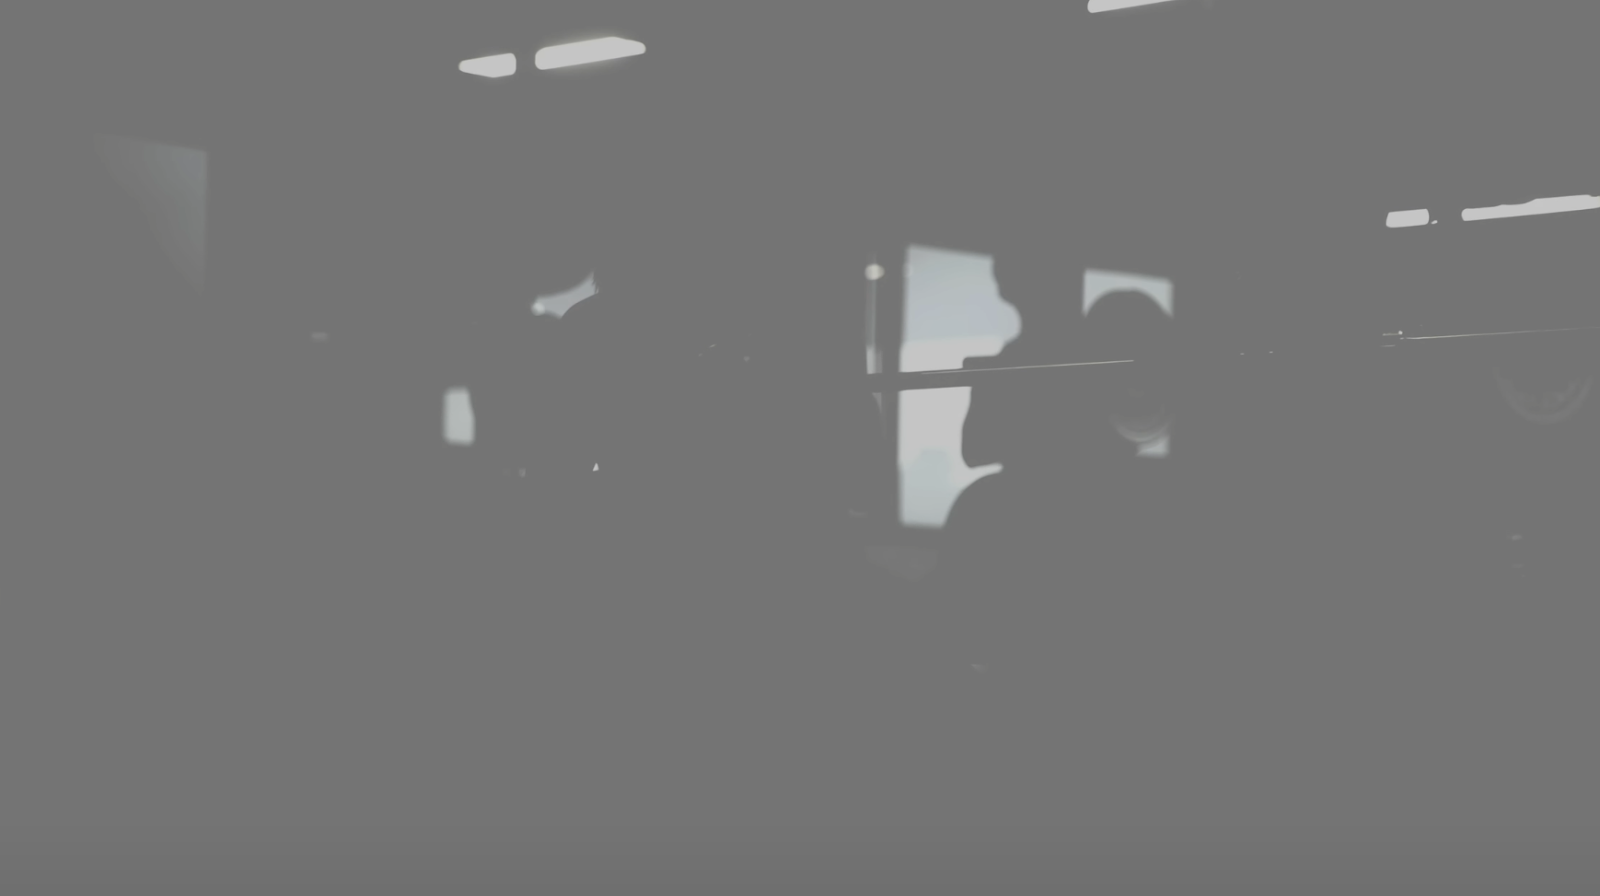
Here is the shot that we are working with.

Let’s quickly take a look at our project settings too, so you can see what we are working in.

If I use the rec.709 timeline color space, I will be choking my footage to about 6 stops of dynamic range on the top end.
This shot was done perfectly. It was exposed to the right about a stop, which means the shadows are cleaner and we can always dial it back a bit and darken it cleanly. And what I am going to do is set up a node tree.

Our first node we are going to use a color space transform to set our input.

On the last node we will do the same but for our output.

The reason we do this is so that all of our nodes are working within that wide color gamut, allowing for the most flexibility in our images.

Everything is looking so good and the highlights are just right. Sony has come out with some great changes to their color science and the image out of the box is *mwuah, chefs kiss.*
The look that I am going to go for today, is a beach bypass with our own flare. So what I am going to do is start in the third node with balancing our image. I am going to use my offset to pull out the warmth in the image, using her outfit as our base.

Now I am going into the HDR wheels and I am going to take my global offset down. These wheels work like stops in your camera.


Our balance is now good.
Now I am going to move to our seventh node, or our look node. What I want to do is use my custom curves to dial in my contrast. Instead of using the YRGB in my curves, I am going to break the chain and use only the Y channel. If I use all of them, it will be a lot more saturated since I will also be messing with the colors. Since I am going for that bleach bypass look, I want to affect the contrast only. So I am now going to dial in that contrast using the custom curves.


Staying in the look node, I want to add some teal/green into the highlights using the gain wheel, then go into my lift and even out my blacks.


Now one thing I am going to do is go into my hue vs hue and swing my yellow to have a bit more red.


Then I want to go into my saturation and dial it back a bit.


Now what I want to do in my 4th node, is I want to qualify her skin.


Then we are going to draw a quick garbage matte around her skin so that we can restrict it to her skin.

Now I want to go into my gamma and give her skin a bit more love.


That’s all I wanted to do.
Now I am going into my sixth node to add some glow.


Now this is pushed, yes, but if you want to pull it back, you can take your global blend down a bit.

Now in my second node I am going to try and do a bit of highlight recovery. I am going to go into my luminance and start pulling in the highlights.

Then I am going to go into my gain and pull it down. Not too much, but a bit.


We are pulling in more information and it looks good. We were able to pull enough of that back and it’s quite impressive.
Now we are actually going to add a node prior to our highlight recovery node for our grain. We are going to add it, and use the 35mm 400T preset.


Now in our ninth node, we are going to use Resolve’s halation. I don’t love this tool, but I want to keep it even to what we can use in Resolve. So I am going to take down the reduce highlights. Then I am going to take back the relative spread green, and take back the strength.


It does just enough to help sell how believable the look is.
One thing we can do is go back into our look node and dial in the saturation a bit more.


Now if you think it’s too crushed, just look at a lot of movies. So many films, TV shows, they do this pushed look that we are going for. So it’s quite normal. But let’s check this out in full screen.

Considering that this isn’t even a video camera from Sony, what we saw is absolutely incredible. I am even thinking about pre-ordering one because it might be a better bang for buck when you do photography and videography. But what do you all think?
With that, work hard, get obsessed and get possessed.
MORE LIKE THIS


