
Don't be THAT Guy when using Creative LUTs
What’s going on Qaznation! Welcome to yet another epic tutorial where we are going to be covering how to use creative LUTs properly. Now I used to absolutely hate LUTs because I felt like it would dictate my final look and I feel like a lot of beginners still make that mistake, but in this video I am going to show how to make LUTs our b*tch.
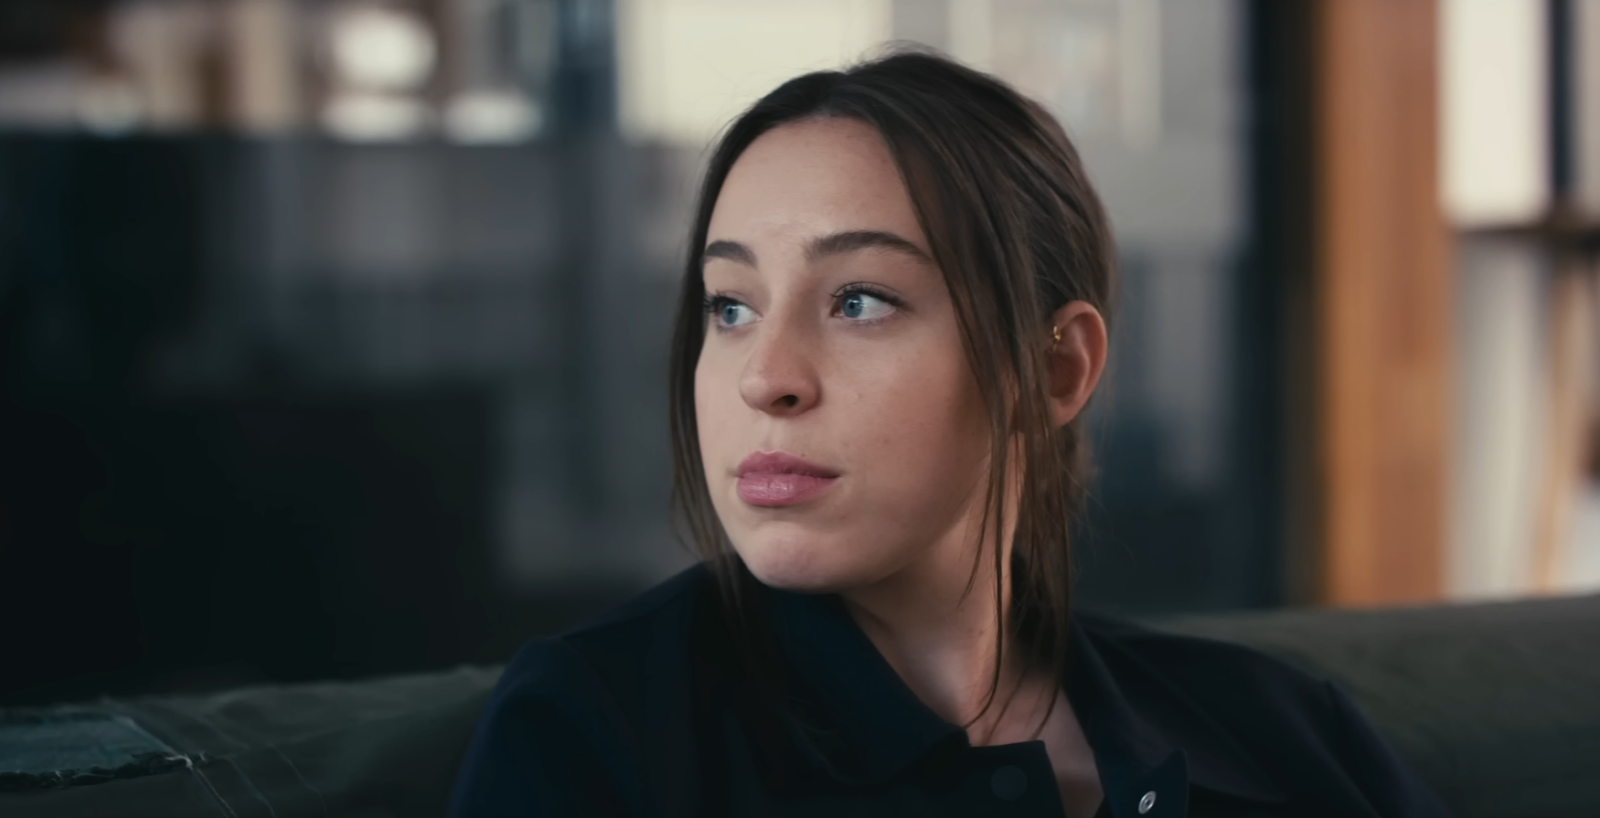
First we are going to look at the beginner way, the way people usually use LUTs. This is the wrong way. The shot we are working with is this, shot on Alexa.

We are going to assume that the beginner knows how to find a hero frame, what camera it was shot on, and a proper node tree structure.
Before we get started, here is my color management settings on a project level.

Now, let’s apply a color space transform to the image.


Once this is done, we are going to add another node and use the Kodak 2383 D60 film looks LUT.


Normally what would happen after this, is they would add a node after the LUT and then figure out what else needs to be done. After seeing this, they will think the “look” is too strong and they’ll go into their node key and bring down the intensity.


The problem with this is you’re taking out the character of the LUT. There’s a lot going underneath the hood when you apply a LUT. When you lower it, it’s lowering the DNA of the LUT.
Another thing they’ll do is a lot of adjustments after the LUT node. The problem with that is you are grading the rec.709 clip. It’s gone.
Another thing they’ll do after adding the LUT, they will start to make some corrections, but they don’t mess around with the balance of their image.
These are just some of the things that beginners are doing that are not correct. There are more, but this is what I’ve seen a lot of through my masterclass and YouTube videos.
Now let’s see the professional way. Starting with a tip: always have a rec.709 version readily available. So what I am going to do is use a color space transform to create that rec.709 version.


This way, when we are building a look, we can reference it when working with a client so they can see what we originally had.
Now I want to work in the DaVinci Wide Gamut color space, so in our first node, I am going to do the proper conversion.


Then on the back end I am going to drop another color space transform on, and convert this to rec.709.


Now what I want to do is work on the exposure of the image.


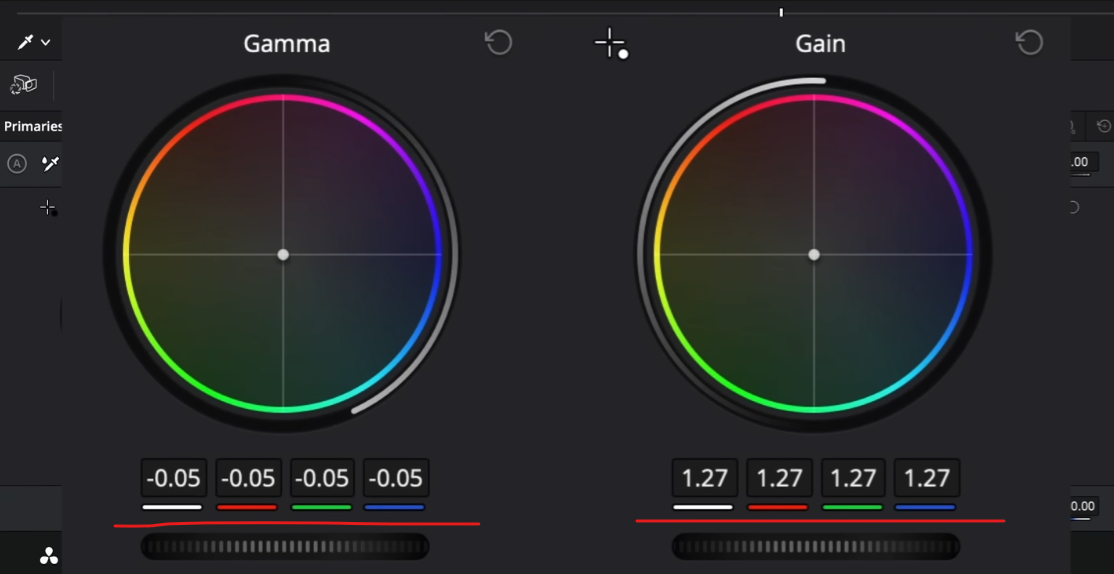
Now I want to work on the balance. We can see that the whole image is a bit on the warmer side, so what I can do is use my printer lights to balance it. I am going to add one cyan and then subtract one red.

Then I want to give it a bit more color since there is just not enough color.

Then I’m going to mess with my gamma and gain a bit more.

This is where we are at and it’s looking good and balanced.
Now we are ready for the LUT and the only change that I need to make before we get to that point is changing the rec.709 CST, to a cineon film log space.

Then I am going to apply the same LUT to the last node.

We are in a much better place than the beginner. All it took was a little bit of prep work before applying a LUT. We aren’t done yet either.
The next thing I want to do is mess with the highlights a bit, since they are a bit high. So I am going to drop my highlight slider a bit, then bring up the shadows slider a bit too. Then I’m going to bring my gain down a bit.


What we were doing here was making that contrast less punchy.
Another thing I want to do is create a gentle custom curve to make this more of our own grade.

Now the last change is necessary. The 2383 LUT creates that orange and teal that is built into the LUT, but we need to clean up our blacks. Now for this we do have to use a post-LUT node. And then I’m going to go into my LOG wheels, and clean up the shadows. Then I want to darken the shadows a bit as well.


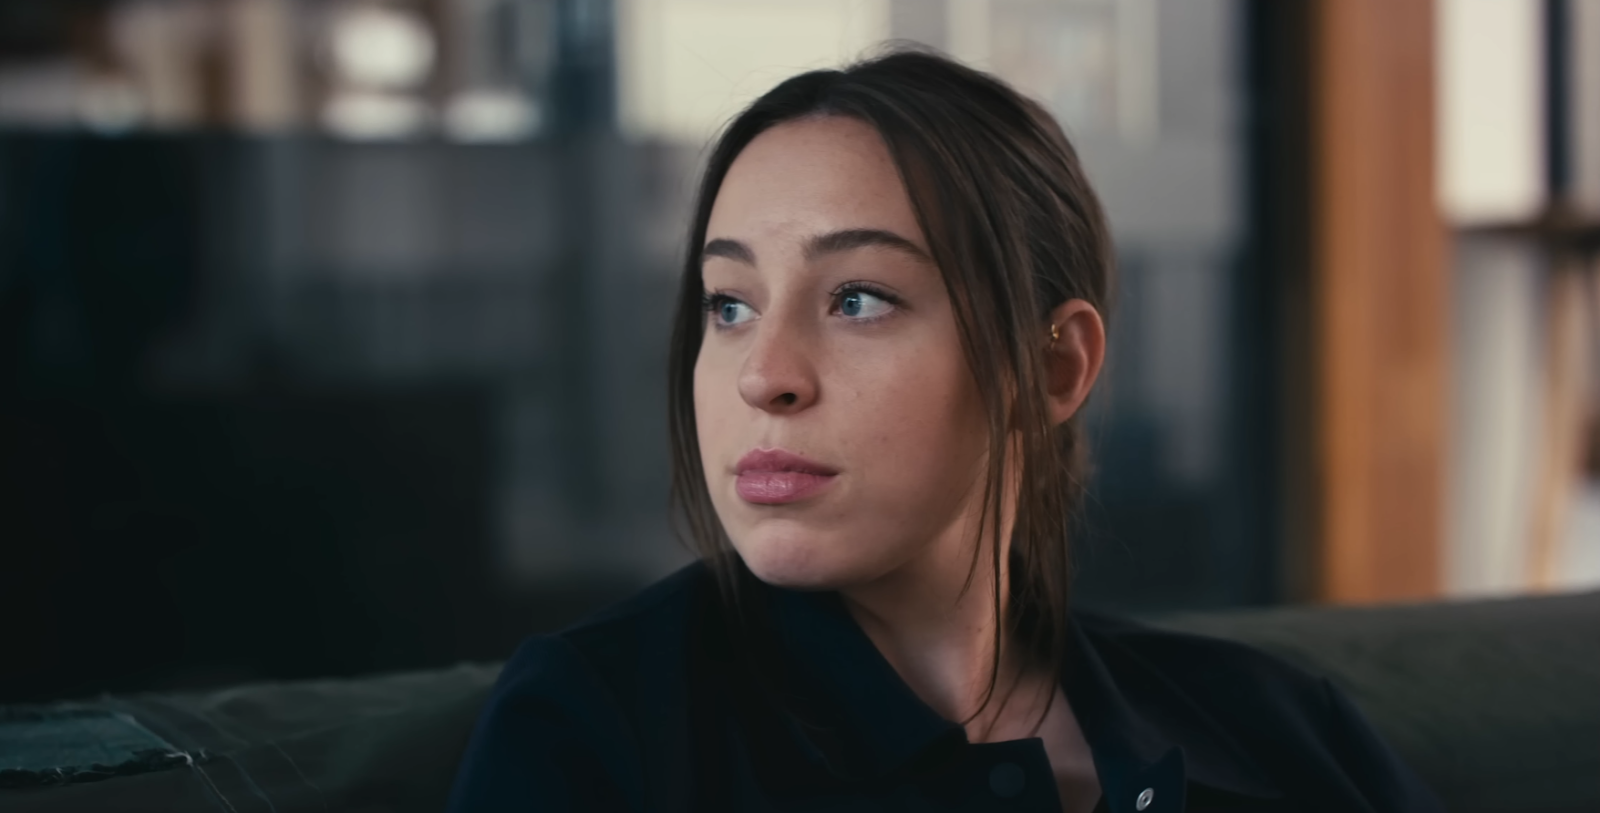
This is what we ended up with. All we did was some work with our primaries at the start that gave us such a leg up over a beginners look. Then the look was a cherry on top. So let’s check this out in full screen.

And here is our beginners version

Ours was so simple and effective too.
So what you’ve seen from this video is that color grading isn’t binary. Color grading will never be an objective. There’s multiple ways of doing things, but hopefully this cleared up some things that you can do when using LUTs to get a better result out of your image. But also, when you’re using LUTs, do you feel similarly that I used to where it takes control? Or do you love what it does that it gives you a different perspective or look that you wouldn’t do yourself? With that, work hard, get obsessed, and get possessed. I’ll see you in the next one.
MORE LIKE THIS


